
23. 11. 2020
Rocco Pezzani
Asset Management, NetEye, Unified Monitoring
Certificate Inventory and Monitoring with NetEye
In the last 10-or-so years, the complexity of enterprise IT applications has greatly increased: each of them can span vertically with multiple (and complex) layers, and each layer can serve applications other than the one that it’s part of. And, obviously, each layer spans across several servers to increase performance and availability. This inevitably leads to a very intricate network that exchanges a lot of data, and every bit of it should be secured to guarantee the highest IT Security standards. At this point the overall picture becomes quite substantial.
The preferred method to secure each application layer (besides good programming) is to use SSL Certificates to protect network communications. Consequently, an IT Administrator has a large number of SSL Certificates to maintain, each of which with its own expiration date. So it’s mandatory to assess how many certificates are deployed, where they are, and when they expire. Also, renewing them on time is necessary to ensure all applications continue working.
Monitoring SSL Certificates and their expirations is usually a task our customers ask us to perform (or at least to help them plan), but the resulting monitoring coverage is related to the asset(s) the customer themselves provide us with: usually, something no one is willing to bet their life on.
To facilitate the inventory and monitoring of SSL Certificates, Icinga provides the x509 module and (of course) NetEye 4 can take full advantage of it. In short, given some range of IP addresses and TCP ports, this module performs scans and looks for SSL Certificates, saves their public key inside its own database and then can tell you where a specific certificate is deployed. It is not used to safely store a copy of a complete (both public and private keys) SSL certificate, but it can provide useful information about each certificate’s usage, validity and expiration, becoming a valuable component of your monitoring strategy.
This module is available from the community, so it can be installed by anyone using NetEye 4, but the setup procedure is a bit complex and the module itself requires some knowledge of SSL, IPSec and certificates. This article will therefore cover only the setup procedure and configuring a first scan. Future articles will cover monitoring and import based on this module. Remember: this blog post is not for beginners.
Installing Module Binaries on Your NetEye
As stated before, the x509 module for Icinga Web 2 is freely available, just go to https://github.com/icinga/icingaweb2-module-x509 and you can find the whole setup procedure inside the documentation. You can simply follow what is written there, but you have to know both NetEye 4 and the x509 module quite well if you want to fully complete the setup. However, we at Würth Phoenix are nice guys, and we’ve provided some RPM packages that will simplify this process to just two steps:
- Download and install the RPMs on your NetEye 4
- Run NetEye Secure Install
Let’s explain this procedure better.
Add the NetEye Contribution Repository to Your System
The RPMs are not available in the default NetEye 4 Yum repositories, so you’ll have to add the NetEye Contribution Repository definition. To do so, just ask our Support team: they’ll gladly add it to your NetEye for you.
Hint: Perhaps some of you already have the Contribution Repository defined inside your NetEye 4. If so, you can try the next step and see if it works. Otherwise, if you are not able to proceed, just contact Support.
Download and Install x509 RPMs on a Single Node Setup
Note: The setup procedure must be executed in the command line; therefore, ensure you can open an SSH shell on your NetEye 4 server with root privileges.
To install x509 RPMs on a single-node NetEye 4, just do these 3 things:
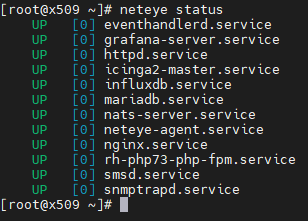
- Ensure your NetEye 4 is up and running. To do so, you can type the
neteye statuscommand directly in the console and check the output: all services must be up and running. Alternatively, you can try a few actions on your NetEye 4 web interface to ensure that that’s the case.
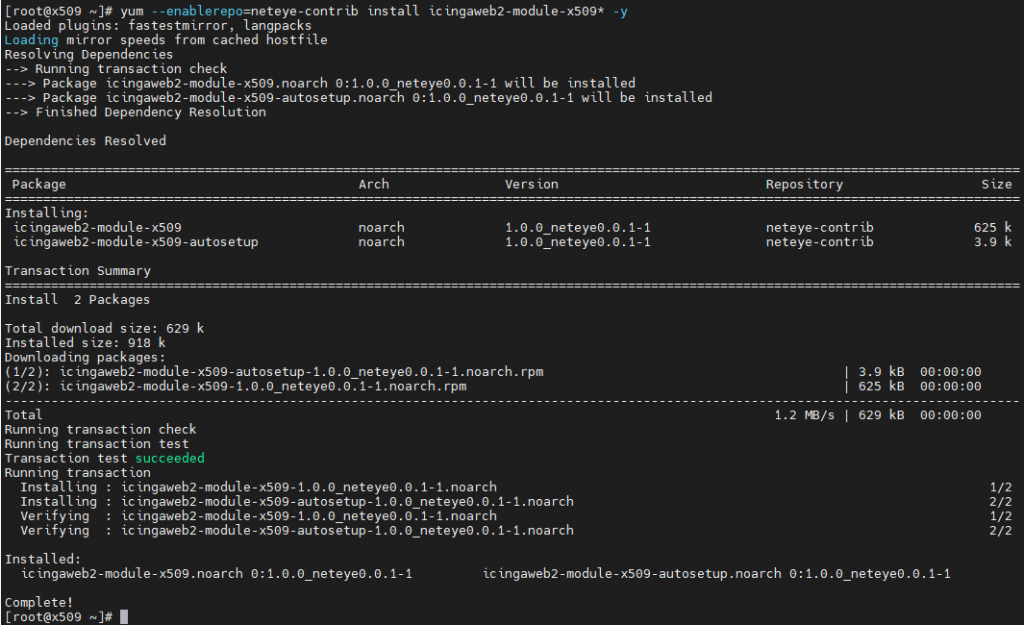
- Ask Yum to download the RPMs. You can do this using the following command:
yum --enablerepo=neteye-contrib install icingaweb2-module-x509*
- If Yum completed the installation process correctly, you can now run NetEye 4 setup:
neteye_secure_install
The output of NetEye Secure Install is quite long, and including it here would only increase confusion, so we’ll just leave that part out.
Download and Install x509 RPMs on a Cluster Setup
Note: the setup procedure must be executed in the command line; therefore, ensure you can open an SSH shell on your NetEye 4 cluster nodes with root privileges. Access to a Voting Node is not required.
To install x509 RPMs on a NetEye 4 cluster, just do these 5 things:
- Like any other upgrade procedures, ensure you have only one active node. Usually, it should be the first. To do this:
- On the first node, run this command:
pcs node unstandby - Run this command on all the remaining nodes, one at a time:
pcs node standby
- On the first node, run this command:
- Ensure your NetEye 4 is up and running. To do so, use
pcs statusto check every resource is up and running and no failed actions are present. Alternatively, a quick actions using your NetEye 4 web interface can help you ensure NetEye 4 is up and running. - On each cluster node, ask Yum to download the RPMs. You can do this using the following command on every node:
yum --enablerepo=neteye-contrib install icingaweb2-module-x509* - If Yum completed the installation process correctly, you can now run NetEye 4 setup:
neteye_secure_install - For each cluster node you put into standby above, be sure you put it back in action:
pcs node unstandby
The output of NetEye Secure Install is quite long, and including it here would only increase confusion, so we’ll just leave that part out.
Preparing for the First Scan
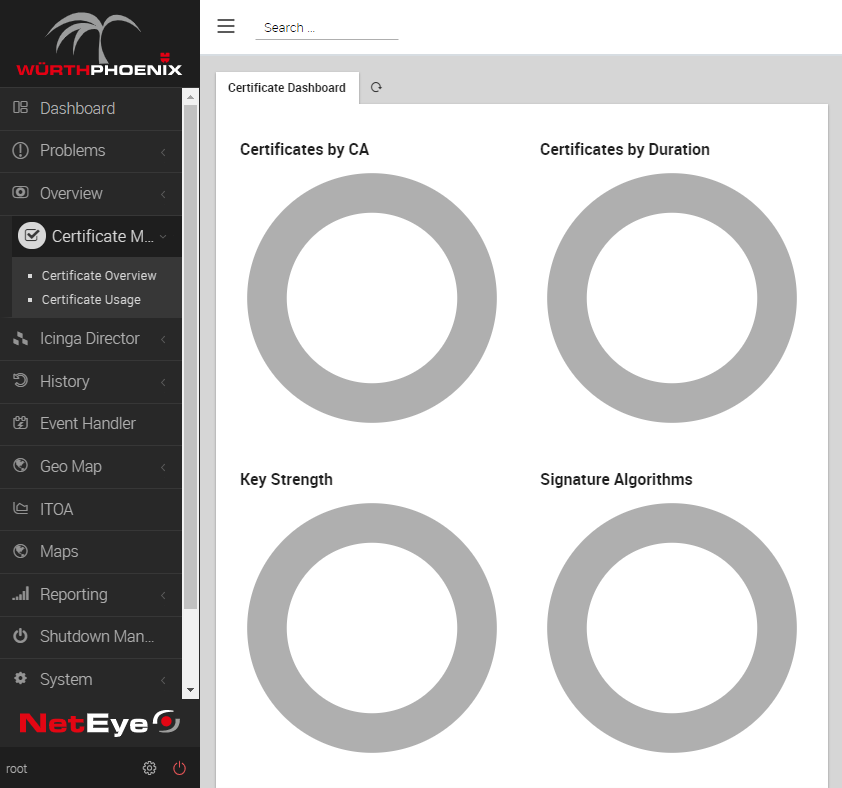
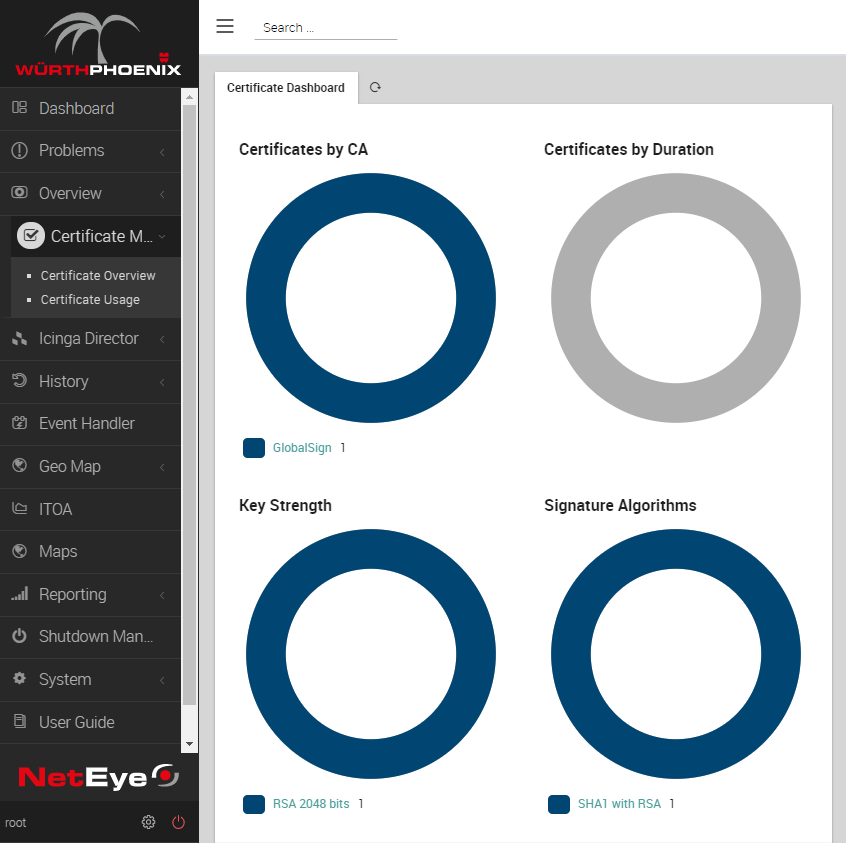
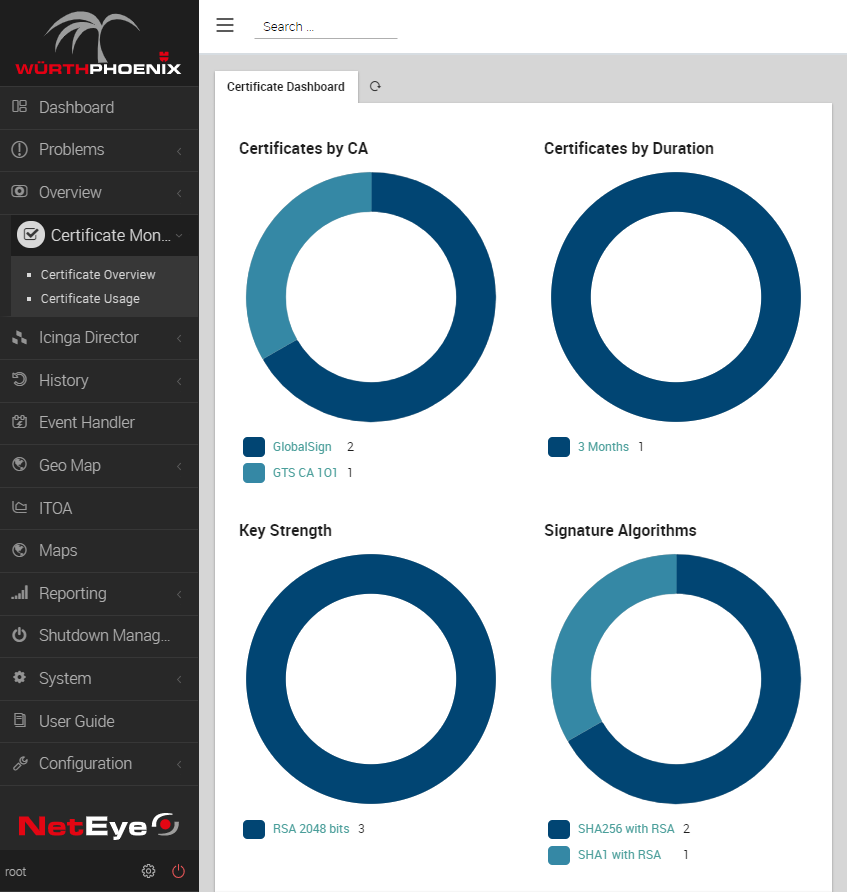
If you have completed the setup procedure correctly, you will find the new menu item Certificate Monitoring. Clicking on it will just lead to a few empty circles for now, but it will at least show the module is correctly installed. Now the module needs to be configured for its first scan.
Before starting to use this module to scan your network, you’ll need to set up a trust network via PKI (public key infrastructure). In fact, this module will not blindly trust any certificate it can find: it has to ensure it comes from a trusted PKI, so having at least one trusted PKI is a prerequisite to running the first scan.
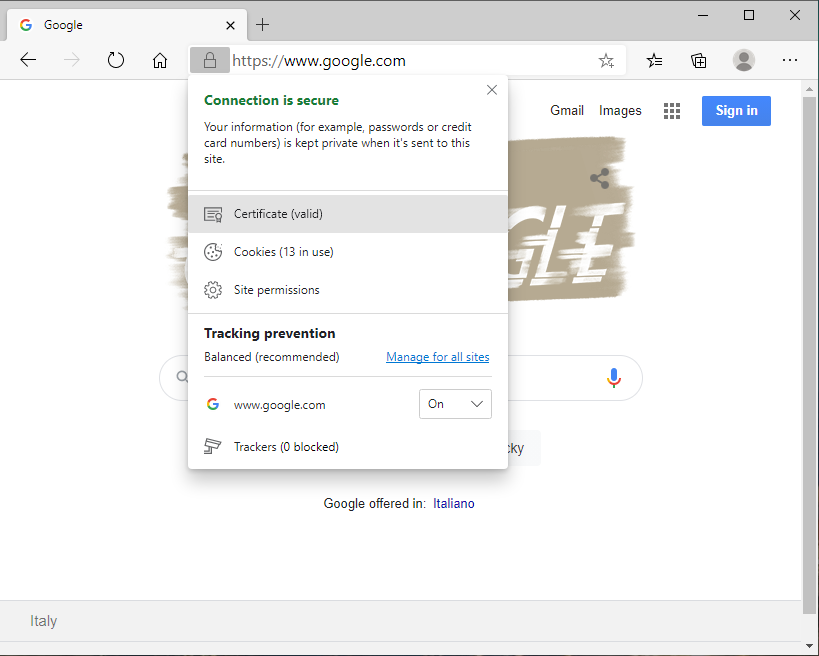
You’ll have to obtain all your required Root CA Public Certificates encoded in x509 Base-64 format. If you don’t have them, just prepare them on your own. Here’s an example using the www.google.com web site:
- Open your favorite browser, navigate to one of the SSL-secured services using the required Root CA and view Site Details (by clicking on the padlock icon that is usually to the left of the URL)
- After opening the certificate, go to Certification Path tab and open the first certificate in the chain (the one at the top)
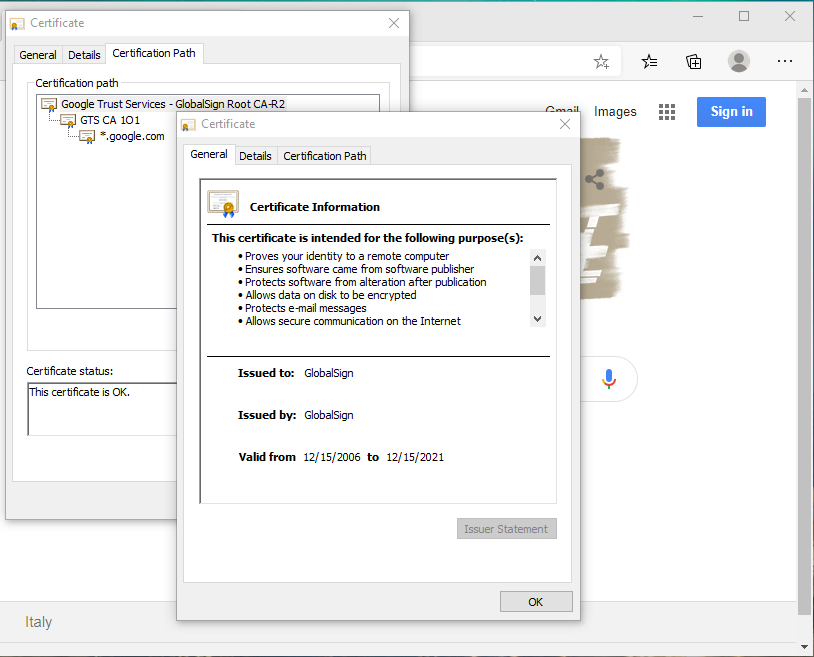
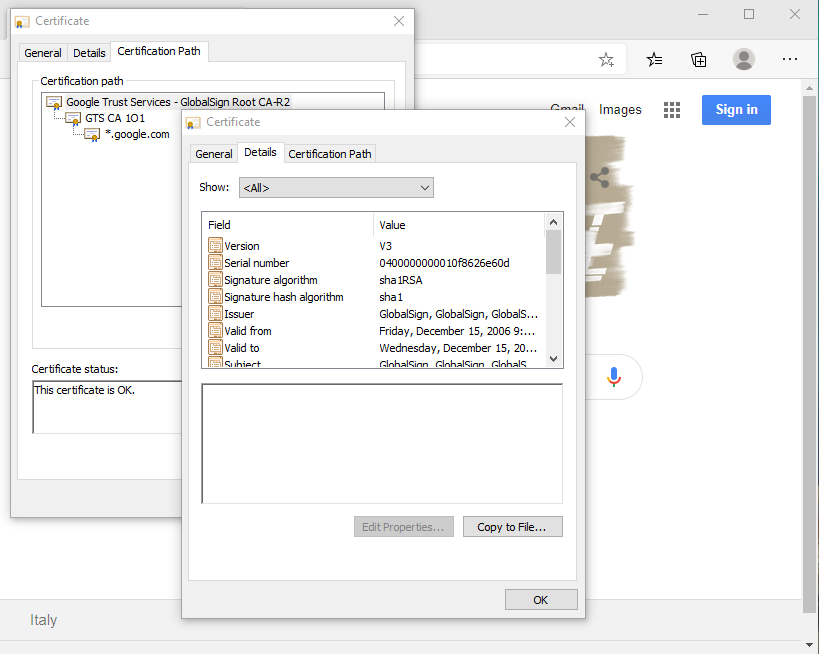
- Go to the Details tab and click on the
Copy to File...button
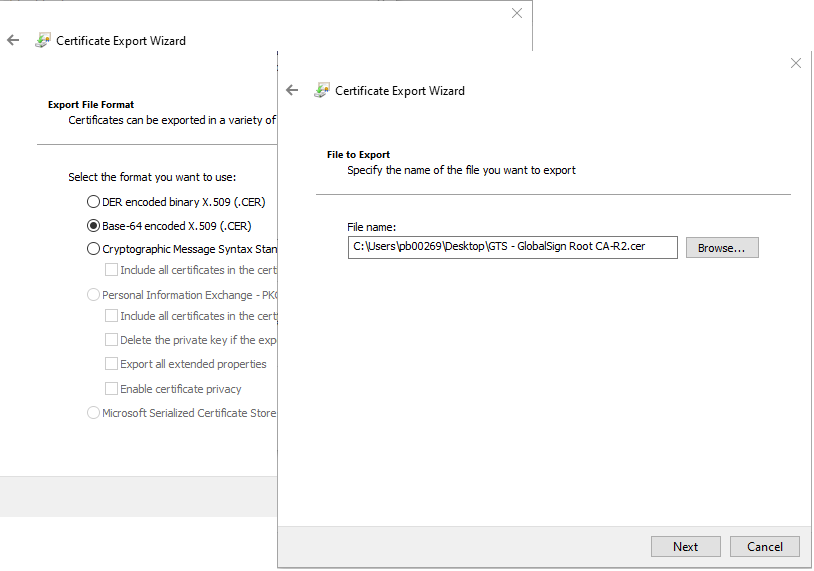
- Follow the Wizard to export the certificate, making sure the format is Base-64 Encoded X.509, then use an easy but meaningful name and save it in an easy-to-find location.
- Transfer the file to your NetEye 4 server
- Import the certificate using this command
icingacli x509 import --file '<Certificate file name>'

Now if you look at your Certificate Monitoring module, you will find a new certificate is present.
Now the mandatory part is over. If you want, you can add other Root CAs you want to trust. This will allow the x509 module to understand if a certificate should be displayed as Trusted or not.
Running Your First Scan
Now that at least one Root CA has been trusted, you can perform a scan. First, you have to create a new Scan Job. A Scan Job is just a set consisting of the following information:
- Which IPs the job should scan; they have to be provided as subnets using CIDR notation, so something like
10.10.10.10/32can work for a single IP, whereas192.168.1.0/24can work for a whole subnet. You can provide more than one range, just separate them using ‘,‘ (comma), like10.10.10.10/32,192.168.1.0/24,172.16.20.0/20. - Which TCP ports the job has to scan; you can provide a single port (e.g.:
443) or a port range (e.g.:1024-1080), and of course you can provide more than one range just by separating the using ‘,‘ (comma) - If the scan has to run periodically, calculate the schedule and express it in Linux cron notation. Something like
0 9 * *will make your job run daily at 9AM.
Let’s look at an example again using www.google.com. Add a new job with these steps:
- Go to the
Configurationmenu item, then the submenu selectModules, then pickx509
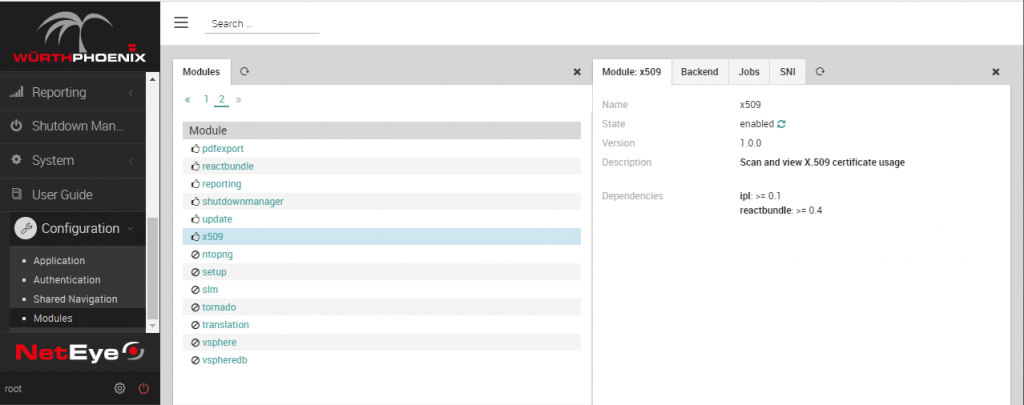
- Select the Jobs tab: you will see a ‘
neteye‘ job; this job is a default one and is used to import the SSL Certificate used on NetEye 4; you can safely ignore it and click onCreate a New Job
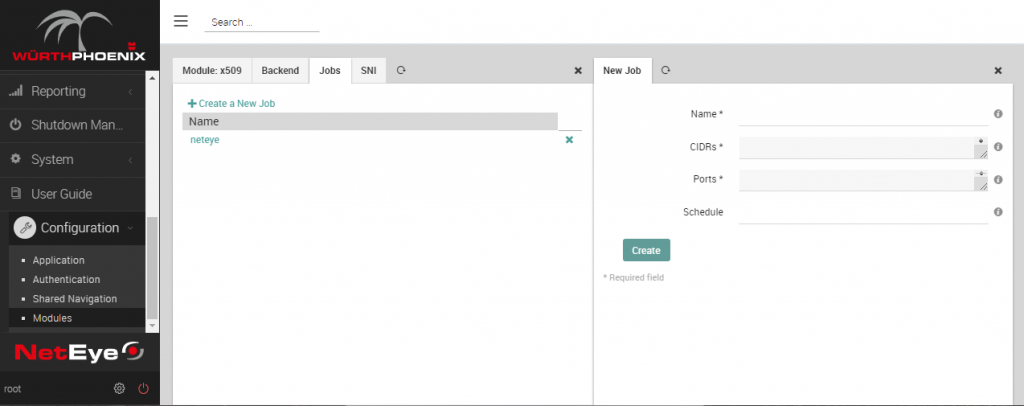
- Now provide the required info: since www.google.com translates to IP Address 172.217.168.36, the job will very likely look like the screenshot below. You have to give the job a name, so use an easy one. As already mentioned, the cron schedule is optional and should be provided only if you want to scan your IP range on a scheduled base.

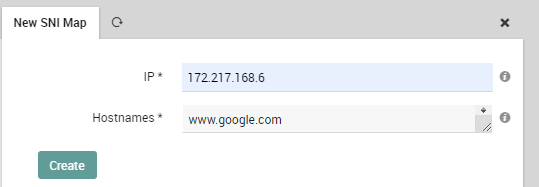
- In case one or more of the IPs you are scanning hosts SSL Certificates for a different FQDN, you can try and make use of SNI (Server Name Indication). Just create a new SNI Map stating which FQDN is “exposed” by one IP. Just go to the SNI tab and add a new SNI Map:
- Now that everything is ready, try running the scan. At present, you have to run this command directly as root on the SSH console of your NetEye 4:
icingacli x509 scan --job '<The name of your job>'
You can add the--debugand--traceswitches to get more verbose output:
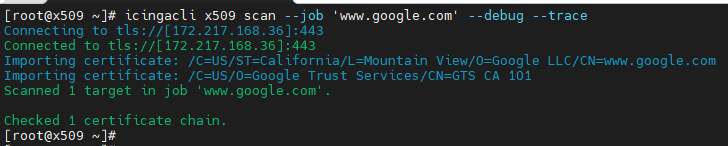
Now, if you go back to the NetEye 4 web interface, you can see a new certificate has been added.
Final thoughts
Now you have installed the x509 module on your NetEye 4 and are able to create and run new Jobs to scan more IPs for SSL Certificates. This way you can build your own Certificate Inventory with all the data you need. The only real limitation is that this module doesn’t work in a distributed monitoring scenario: it has to run directly on the NetEye Master server/cluster, which therefore needs to be able to directly reach all the IPs that you want to scan.
The next steps are:
- Better understand the module’s web interface
- Use the x509 module to be alerted if a certificate is about to expire
I’ll cover these in a future blog post. Stay tuned.


Author
Latest posts by Rocco Pezzani
18. 03. 2025
Icinga Web 2, ITOA, NetEye, UI, Unified Monitoring
A First Step towards Multitenancy in Icinga 2
31. 12. 2024
Business Service Monitoring, ITOA, NetEye, SLM, Unified Monitoring
Display a Service’s Availability with ITOA
30. 11. 2024
Business Service Monitoring, NetEye, Unified Monitoring
The Story of a Strange Business Process