


20. 06. 2025
NetEye, Unified Monitoring

After performing several migrations to NetEye 4, I realized that not all checks present on the old NetEye 3 could be migrated immediately. Sometimes for obsolete host systems on which the new Icinga 2 Agent could not be installed, or for dedicated check types for specific services, it was necessary to continue using our good old NRPE service.
Each time it was necessary to recreate from scratch the entire structure of the Commands and Templates needed to create new NRPE-type checks. So I decided to create a new NEP dedicated specifically to using NRPE on both Windows and Linux systems. To do this, I created the following tree described at this link.
Setup on NetEye Server
An important prerequisite for proper operation is to first install nep-commons. You’ll need to create the following directory with the following two empty files inside:
- nrpe.cfg
- nsclient.ini
mkdir /neteye/shared/icinga2/data/nrpe
cd /neteye/shared/icinga2/data/nrpe
touch nrpe.cfg
touch nsclient.ini
Doing this allows us to receive errors during the setup phase:
[root@neteye4 ~]# nep-setup install nep-nrpe-base
Warning NEP not installed
-System checks performed
-NetEye version checks performed
-NetEye modules checks performed
-NetEye nep checks performed
-NetEye setup pre scripts
...
..
-NetEye setup post scripts
Info: Getting NetEye Corporate IPs
192.168.52.136
Updating NRPE Config files for agents

NetEye nep-nrpe-base installed
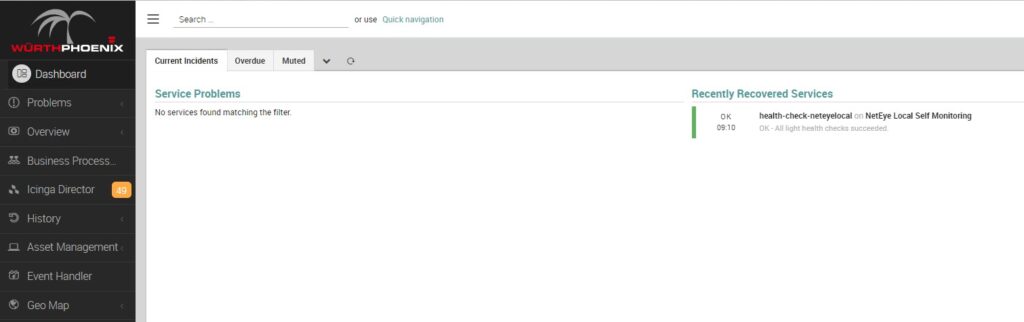
Once the NEPs are installed, we can connect to the NetEye web interface, where the activity log will show us we have 49 new objects to deploy:
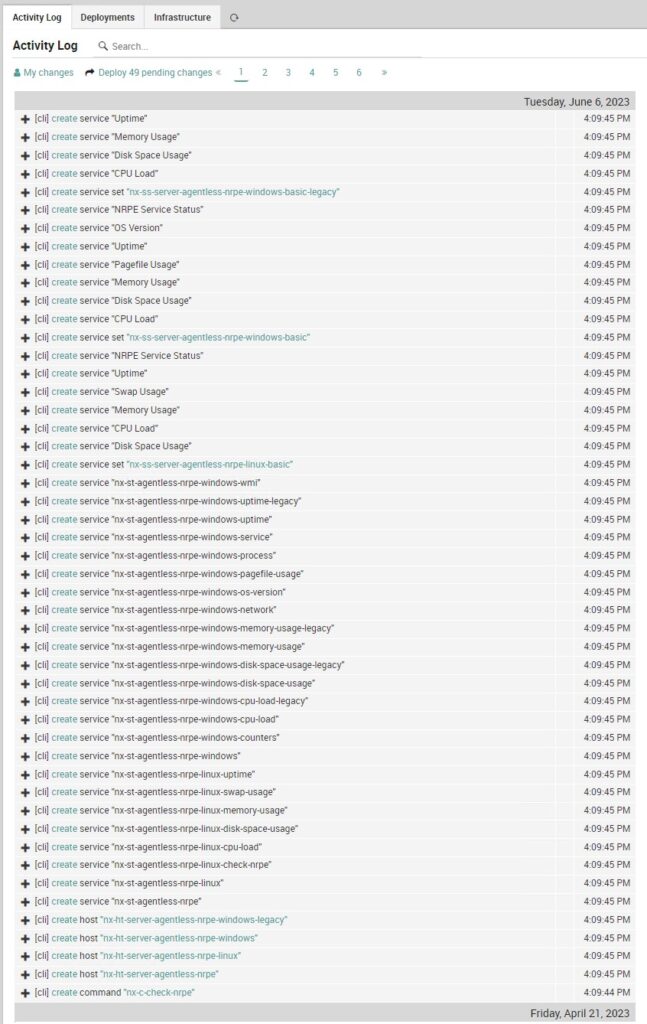
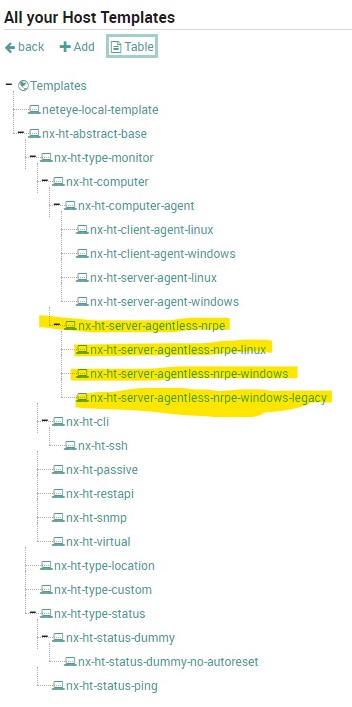
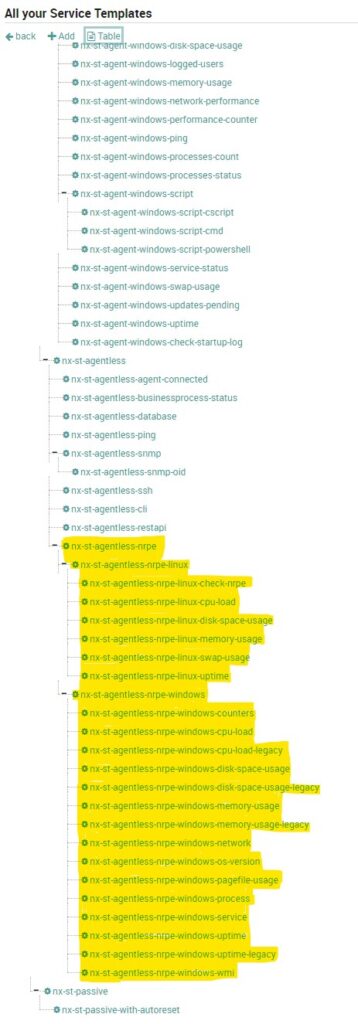
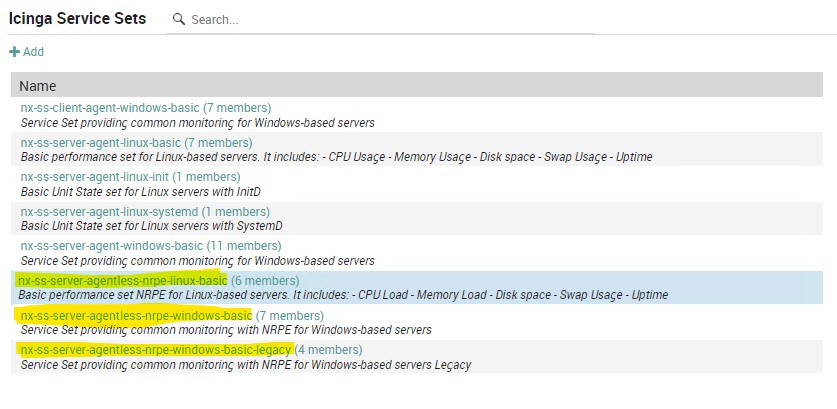
Upon deployment we will find new Host Templates, Service Templates and Service Sets preloaded on the system.
Windows Version
On Windows clients you’ll need to install NSCP-0.5.2.35-x64 and edit the nsclient.ini configuration file located by default at the path C:\Program Files\NSClient++\. Within it, edit the file as the example given in the NetEye guide.
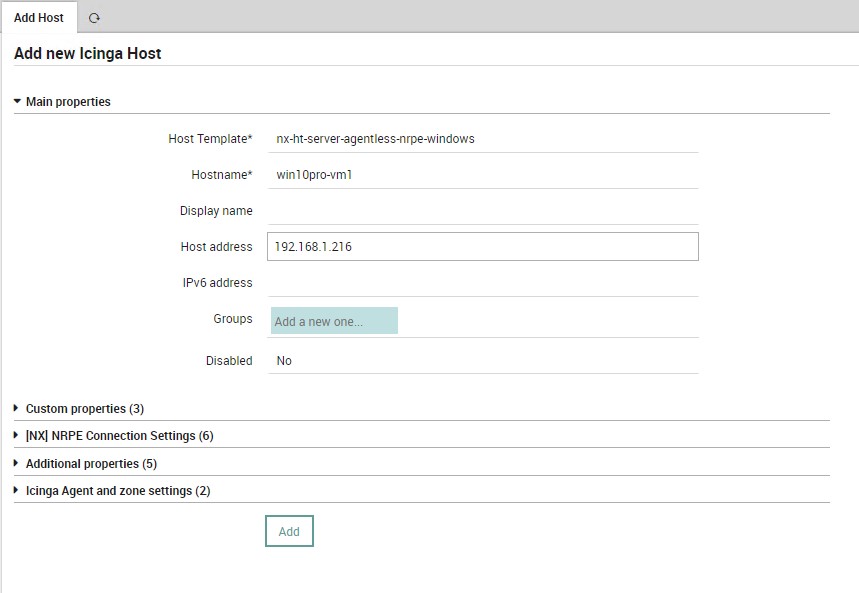
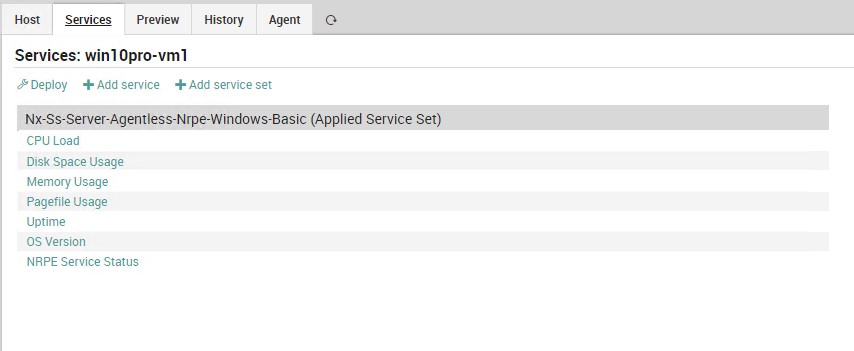
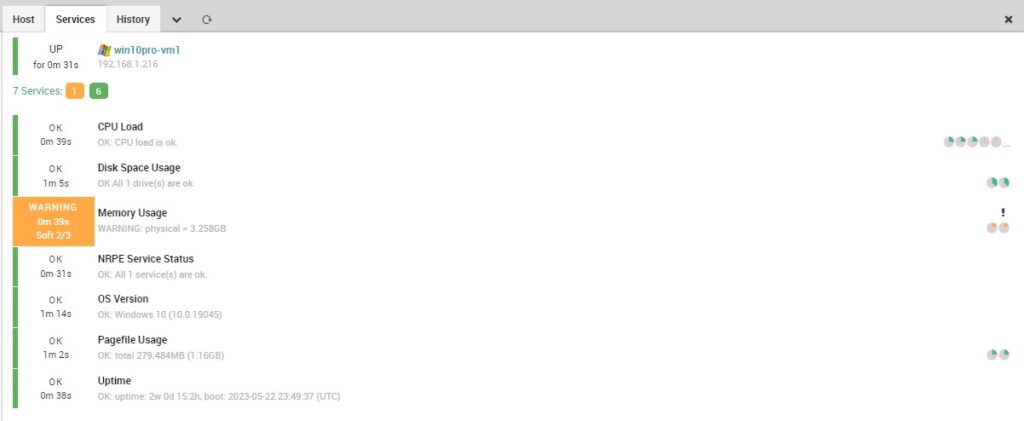
At this point we can add our hosts on which Service Sets will be associated by default according to the operating system. Let’s start with a Windows system. Once the new Windows Host is added, deploy again and verify that the checks are working properly.
Linux Version
For Linux systems, follow instead these instructions:
yum install epel-release
yum --enablerepo=epel -y install nrpe nagios-plugins
systemctl enable nrpe.service
systemctl start nrpe.service
Edit allowed_hosts and dont_blame_nrpe, and add the new commands in the file /etc/nagios/nrpe.cfg.
# ALLOWED HOST ADDRESSES
# This is an optional comma-delimited list of IP address or hostnames
# that are allowed to talk to the NRPE daemon. Network addresses with a bit mask
# (i.e. 192.168.1.0/24) are also supported. Hostname wildcards are not currently
# supported.
#
# Note: The daemon only does rudimentary checking of the client's IP
# address.  I would highly recommend adding entries in your /etc/hosts.allow
# file to allow only the specified host to connect to the port
# you are running this daemon on.
#
# NOTE: This option is ignored if NRPE is running under either inetd or xinetd

allowed_hosts=127.0.0.1,::1,192.168.1.251

# COMMAND ARGUMENT PROCESSING
# This option determines whether or not the NRPE daemon will allow clients
# to specify arguments to commands that are executed.  This option only works
# if the daemon was configured with the --enable-command-args configure script
# option.
#
# *** ENABLING THIS OPTION IS A SECURITY RISK! ***
# Read the SECURITY file for information on some of the security implications
# of enabling this variable.
#
# Values: 0=do not allow arguments, 1=allow command arguments

dont_blame_nrpe=1

# NETEYE
command[nx_check_load]=/usr/lib64/nagios/plugins/check_load $ARG1$
command[nx_check_disk]=/usr/lib64/nagios/plugins/check_disk $ARG1$
command[nx_check_swap]=/usr/lib64/nagios/plugins/check_swap $ARG1$
command[nx_check_mem]=/usr/lib64/nagios/plugins/check_mem.pl $ARG1$
command[nx_check_users]=/usr/lib64/nagios/plugins/check_users $ARG1$ $ARG2$
command[nx_check_cpu_stats]=/usr/lib64/nagios/plugins/check_cpu_stats.sh $ARG1$
command[nx_check_uptime]=/usr/lib64/nagios/plugins/check_uptime $ARG1$
#command[nx_check_mem]=/usr/lib64/nagios/plugins/custom_check_mem -n $ARG1$
command[nx_check_init_service]=sudo /usr/lib64/nagios/plugins/check_init_service $ARG1$
command[nx_check_services]=/usr/lib64/nagios/plugins/check_services -p $ARG1$
command[nx_check_yum]=/usr/lib64/nagios/plugins/check_yum
command[nx_check_apt]=/usr/lib64/nagios/plugins/check_apt
command[nx_check_all_procs]=/usr/lib64/nagios/plugins/custom_check_procs
command[nx_check_procs]=/usr/lib64/nagios/plugins/check_procs $ARG1$
command[nx_check_open_files]=/usr/lib64/nagios/plugins/check_open_files.pl $ARG1$
command[nx_check_netstat]=/usr/lib64/nagios/plugins/check_netstat.pl -p $ARG1$ $ARG2$
Next, open the firewall port 5666:
firewall-cmd --zone=public --add-port=5666/tcp --permanent
firewall-cmd --reload
And from NetEye Master run these commands:
scp /neteye/shared/monitoring/plugins/check_mem.pl [CLIENT IP]:/usr/lib64/nagios/plugins/
scp /usr/lib64/neteye/monitoring/plugins/check_uptime  [CLIENT IP]:/usr/lib64/nagios/plugins/
Now as with Windows systems we can add our Linux hosts:
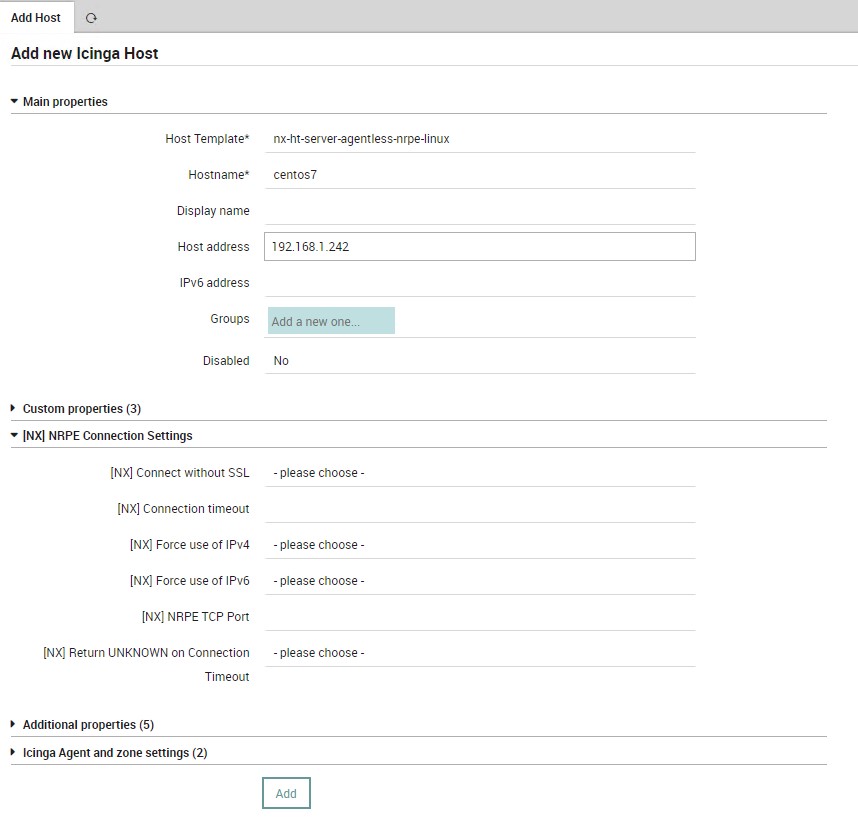
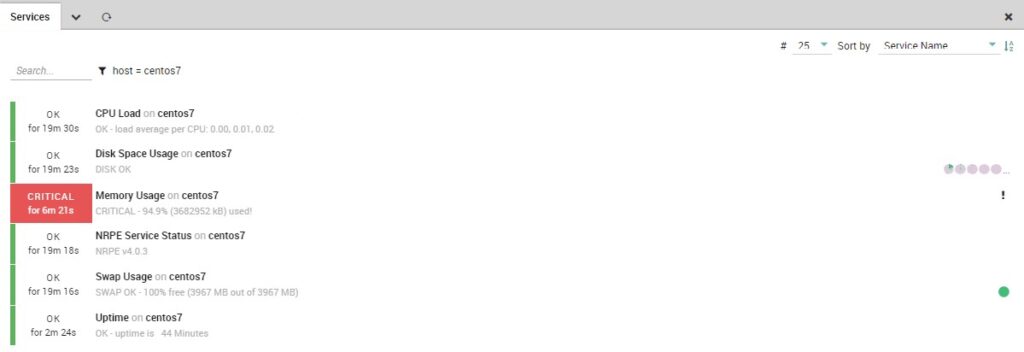
So at this point we have a basic infrastructure for monitoring for both Windows and Linux systems via NRPE that can be used to implement various checks.
Andrea Mariani
Author
Latest posts by Andrea Mariani
21. 03. 2026
AI
Reflections on Running LLMs Locally: Why It’s Worth Running Them on Your Own Infrastructure
11. 09. 2025
NetEye, PHP, Unified Monitoring
Using Keycloak to Secure Web Pages and Virtual Directories
20. 06. 2025
NetEye, Unified Monitoring
NEP Telegram Notification