


31. 03. 2026
Atlassian, Service Management

Here we are at the third part of this journey.
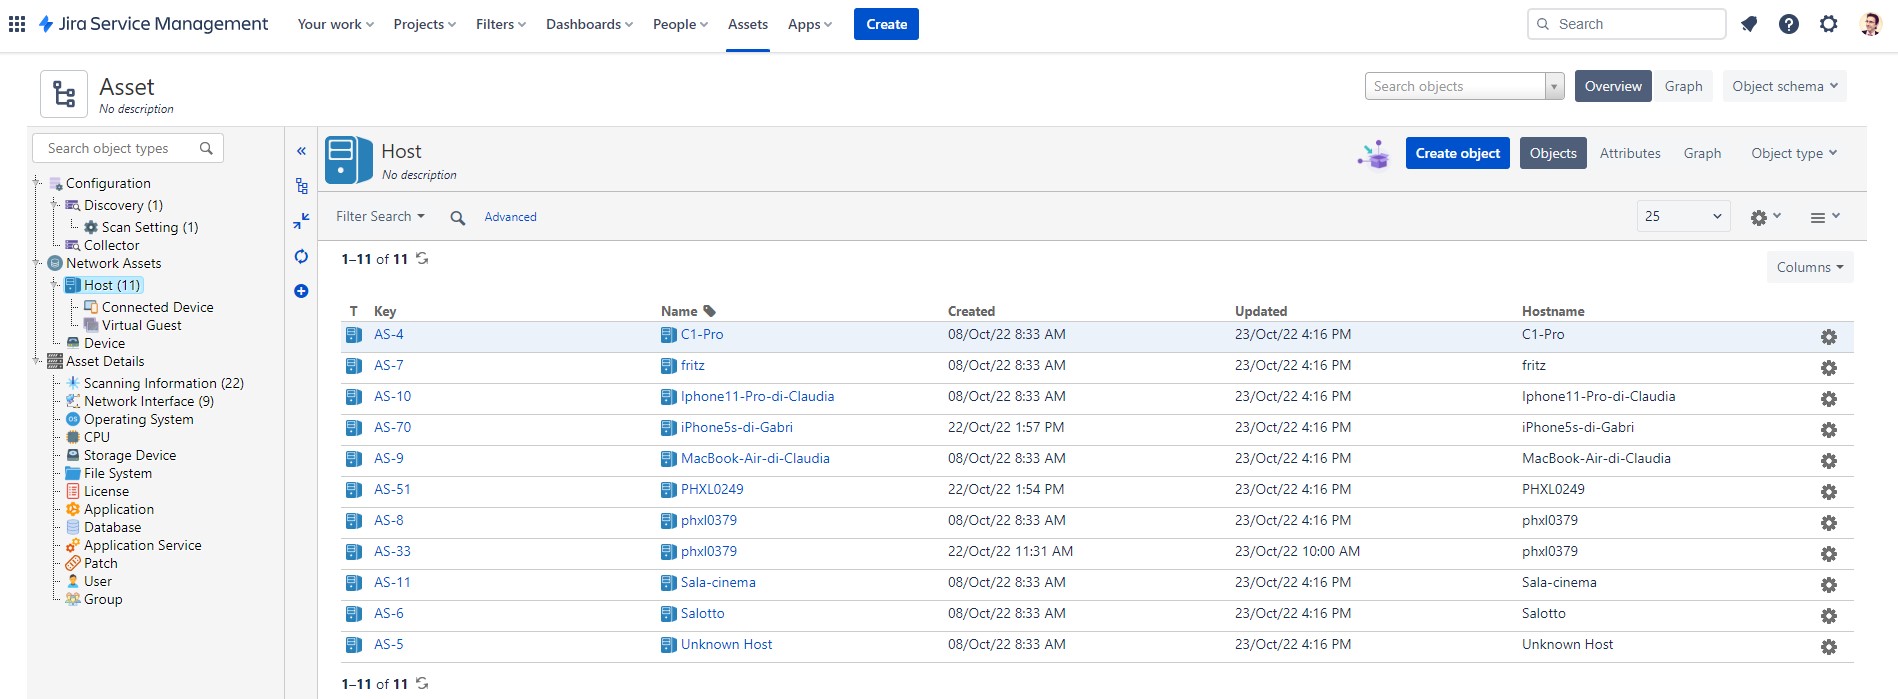
After seeing how to discover assets and how to import assets discovered by the Discovery-Tool into Jira, in this part we will see how to set up a service and ensure that the objects imported into the Asset module are always up to date.
The bonus track of the guide will be how to relate the objects by linking them to the users that we will have uploaded to a second scheme.
Let’s proceed in order and create the service on the server that will allow us to schedule the import of the assets. To do this, after opening the Discovery-Tool, go to Service and click on Install Service.
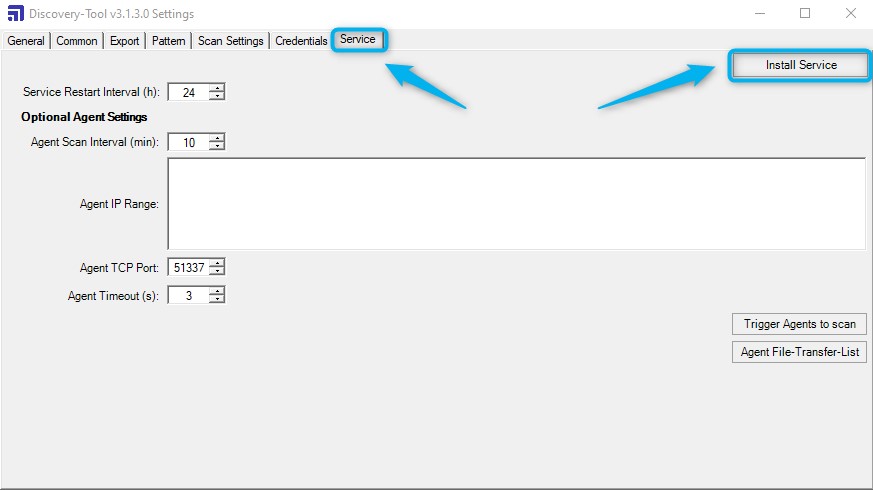
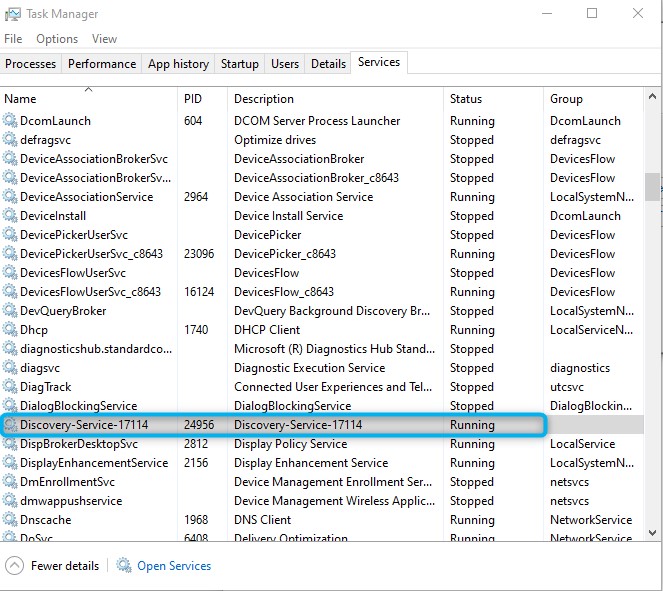
Installing the service will create the new service in the Services visible in the Task Manager.
In order to upload to the cloud, it is first necessary to generate a token which will be used to upload the data.
To obtain the token, connect to the schema you wish to import, go to the import tab, click on and choose “Create new token“.
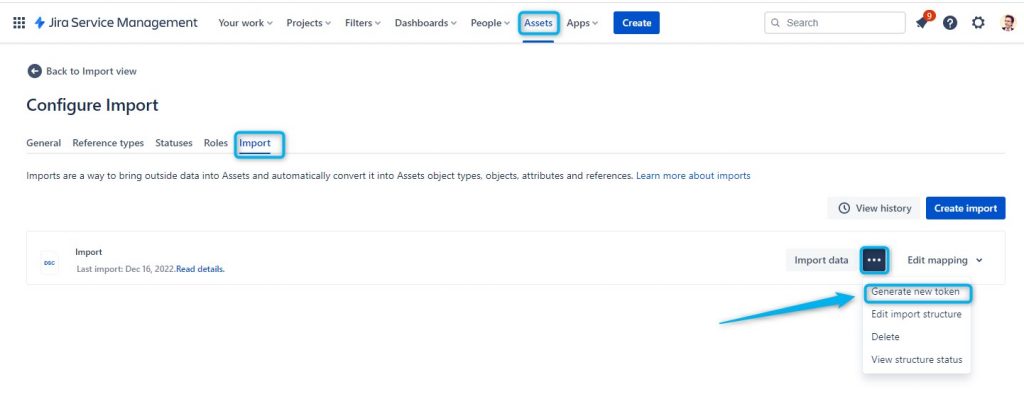
The newly created token will be visible in a window like this:
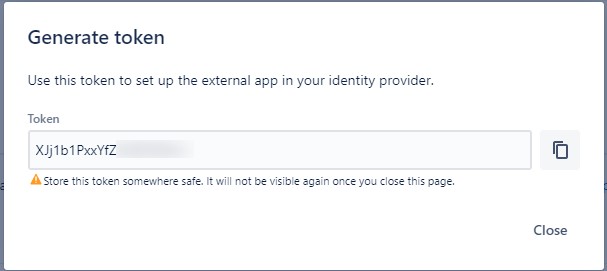
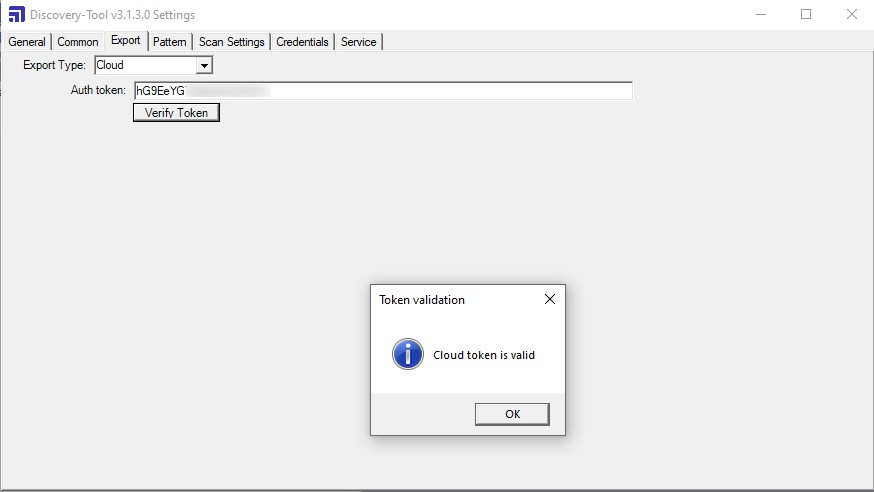
Once the token has been generated, it must be entered in the Discovery Tool.
We then enter the discovery tool again, change the Export Type in the Export tab and select “Cloud“; finally we paste the token generated on the Atlassian side.
For security, we can press the Verify Token key to validate it.
That’s it with these few instructions you will have created a service that will update your assets in your Jira Service Management CMDB every day.
Bonus Track: here’s how to do it if you want to add an owner in the attributes of an asset.
First create the Owner attribute and choose User as the type.
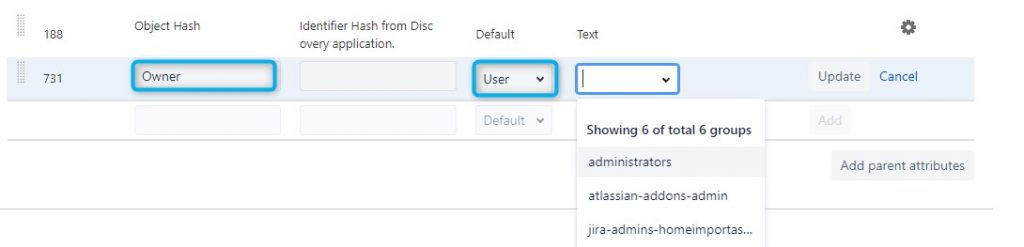
You can also have users pre-filtered by group JIra, I don’t normally apply filters.
The result of this additional attribute will be the ability to build it using the users themselves uploaded to jira.
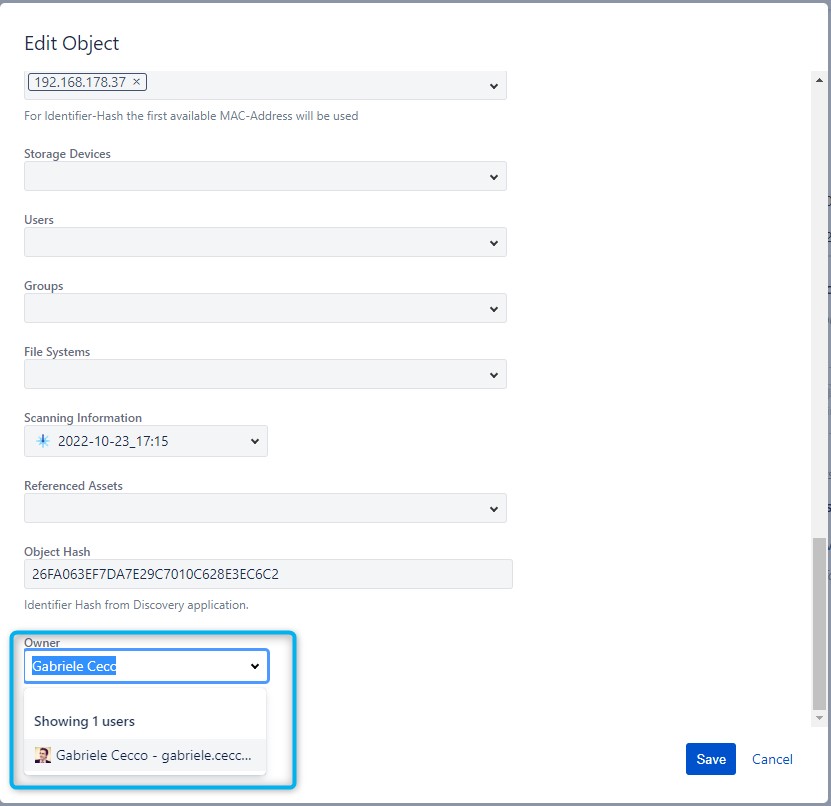
If we wanted to pre-compile the attributes by entering the assigned user for each asset, we can do it but we must do it using the user’s ID as the key.
The user id is the id with which the user is recognized on the system, we can simply see it in the user’s url when this is selected. For instance:
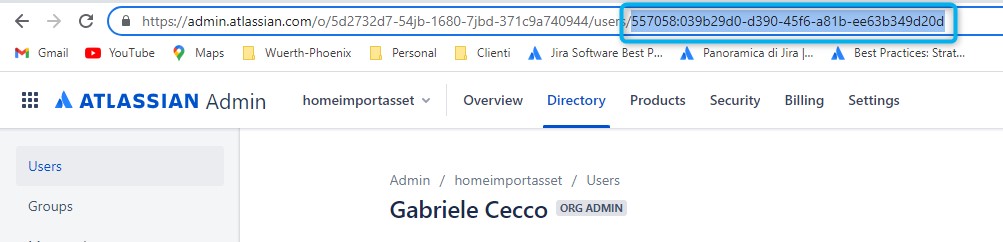
This is my user id.
So, if I wanted to add the user to the list of assets and to do so I wanted to use the Jira user, it is that id that I should import into the Asset CMDB.
How do I do if I want to get the list of all user ids that are present in my Jira? Simple, using the Export function that I find on the User’s Jira page.
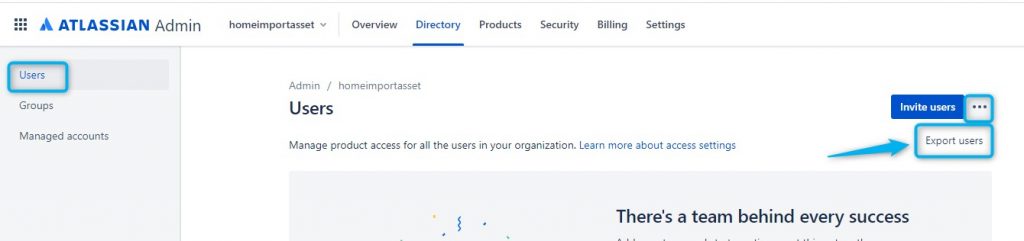
The Export function sends me a csv file via email where all the users and their ID are listed.
In this way I can create a csv file to add the users present directly in Jira as an attribute to my assets.
We have therefore come to the conclusion of these three small guides which I am convinced will allow you to take your first steps in the world of the Jira Asset module with great satisfaction

Gabriele Cecco
Technical Consultant at Würth IT Italy
I’m Gabriele Cecco, a consultant at Wuerth Phoenix with extensive experience in ITSM processes. Over the years, I’ve worked with various ITSM software tools, and since 2020, I’ve specialized in the Atlassian suite, earning certifications and helping many companies configure their Atlassian products.
In my free time, I enjoy listening to science and entertainment podcasts, watching movies and TV series, and traveling. I’m passionate about exploring the world, and when I’m not traveling abroad, I love spending weekends in South Tyrol with my wife and our minivan, Windy.
Author
Latest posts by Gabriele Cecco
30. 12. 2025
Atlassian, Service Management
Jira Service Management: The Great Architect’s Dilemma, Single Project vs Multiple Projects
16. 03. 2025
AI, Atlassian, Service Management
Understanding Customer Sentiment in Jira Service Management to Enhance Support
31. 12. 2024
Atlassian, Service Management
How to Use the New ‘Request Type Groups’ Feature in Jira Service Management